
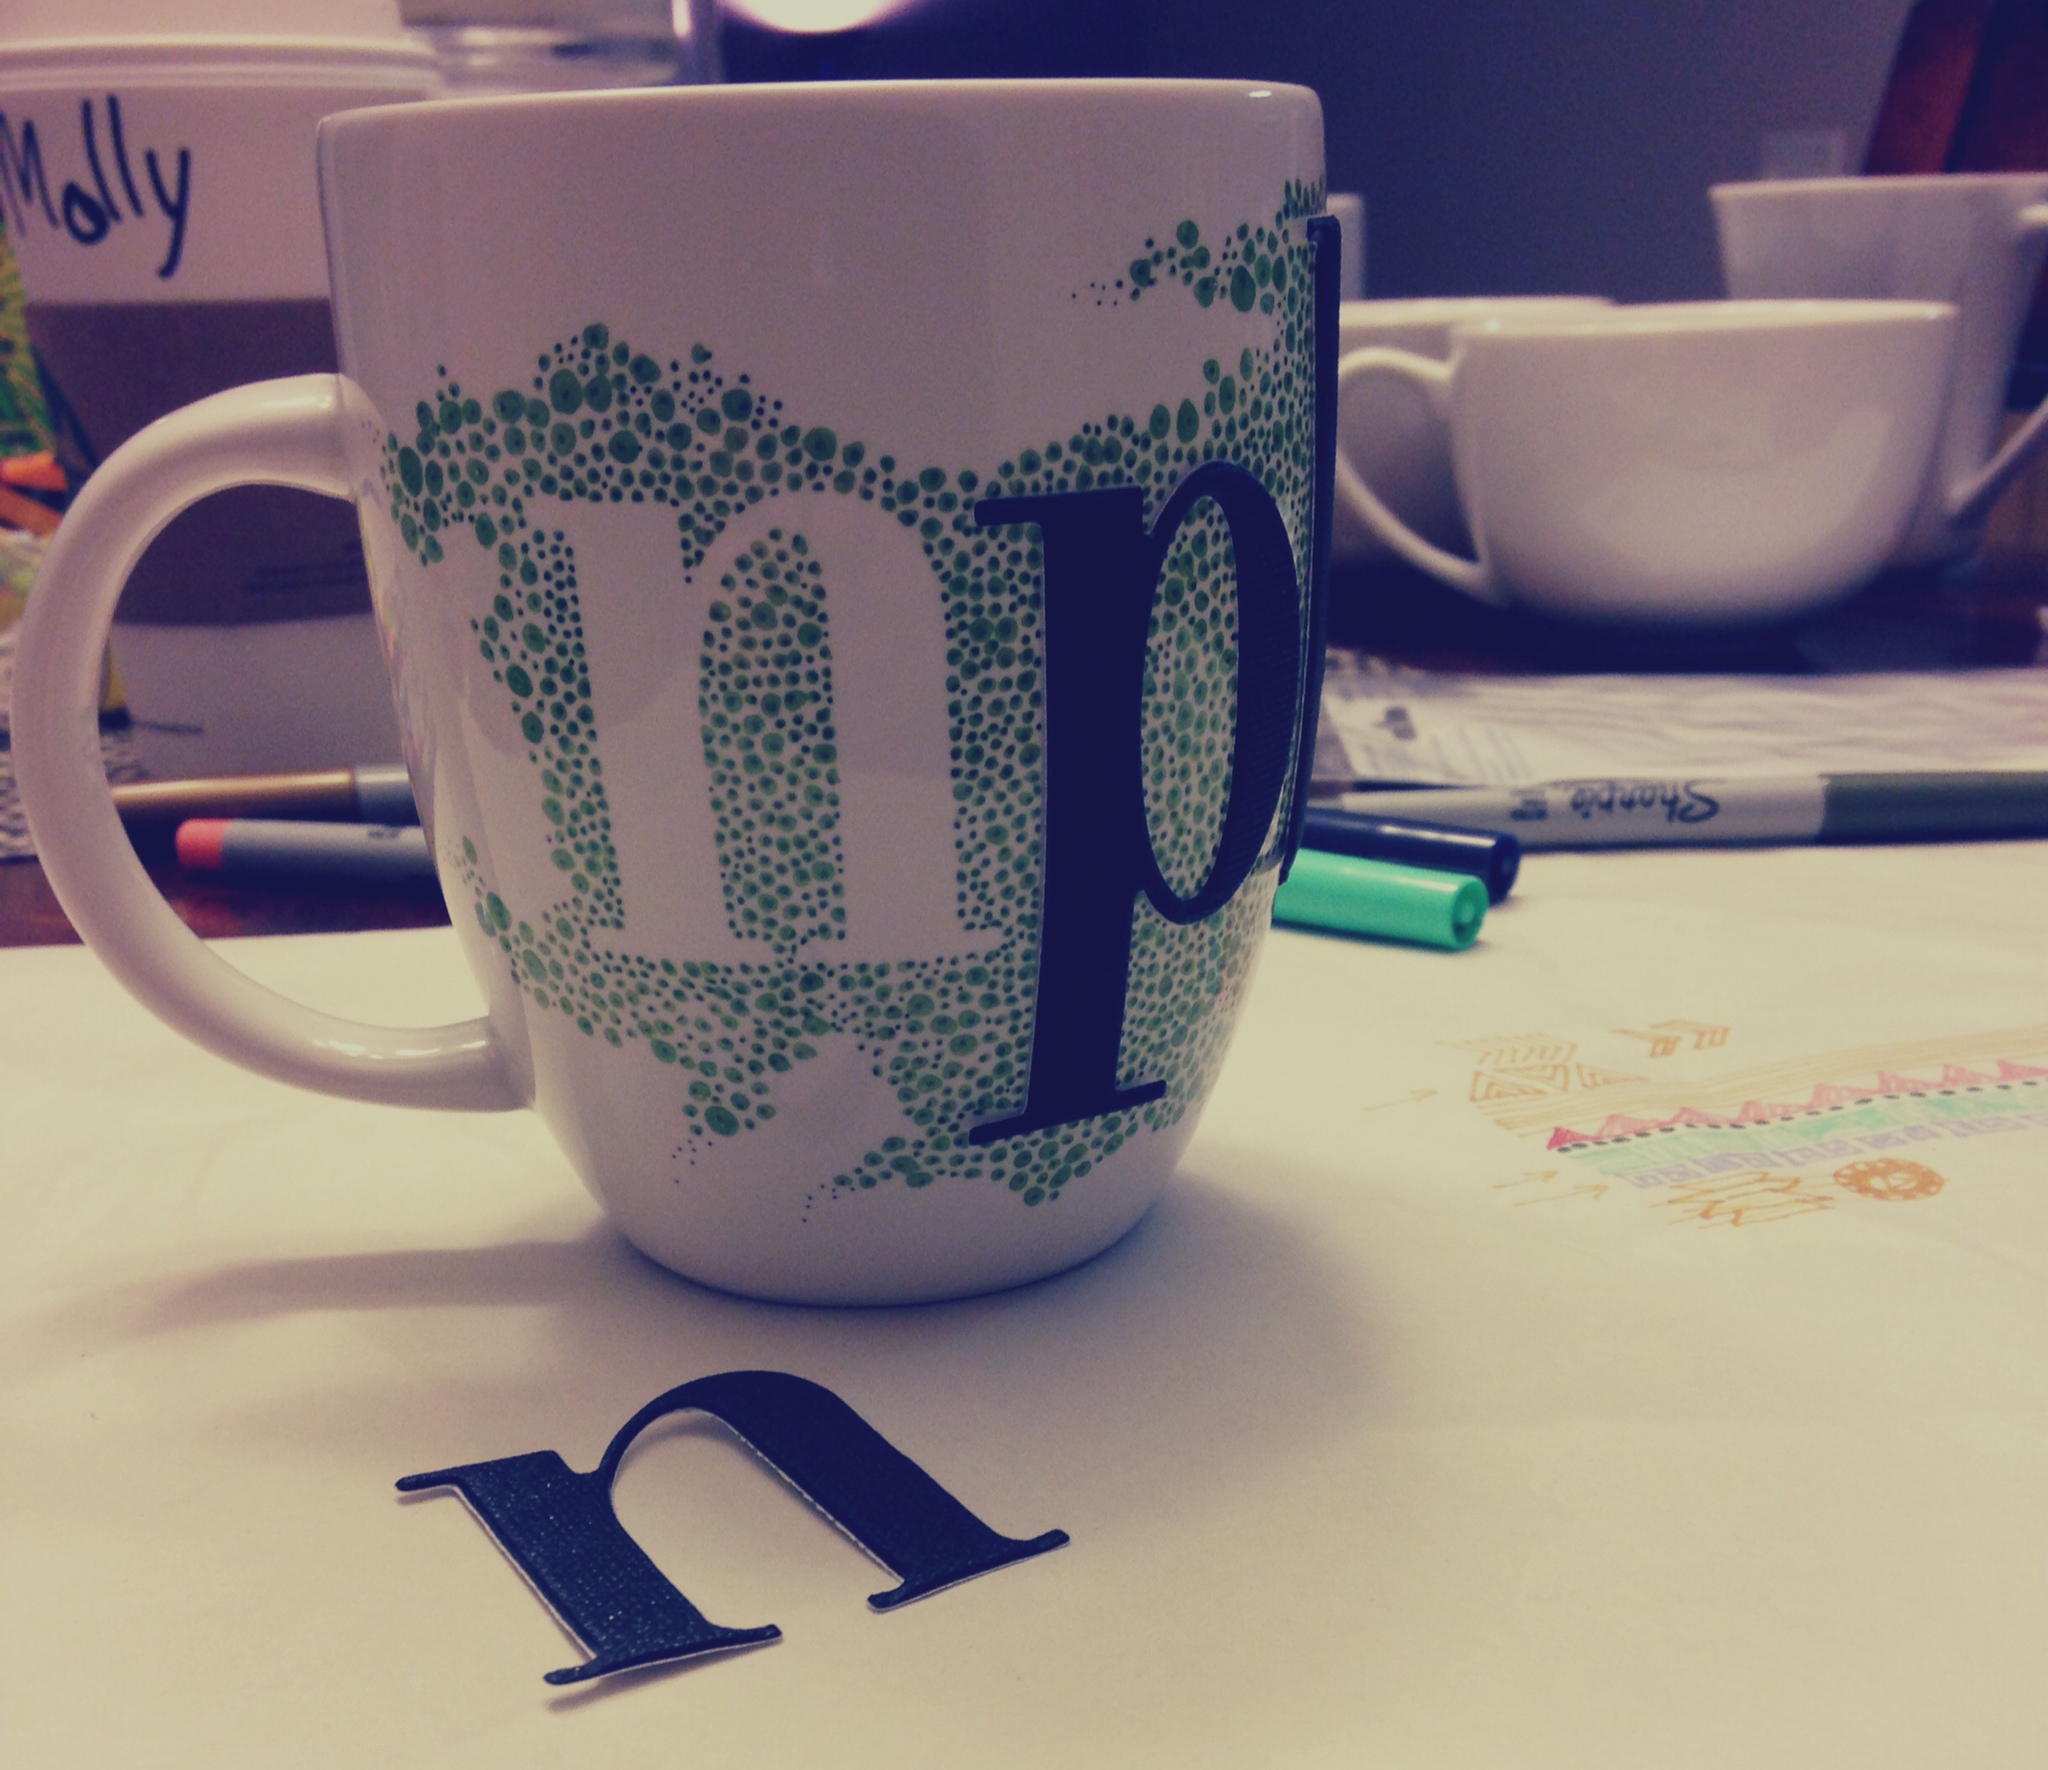
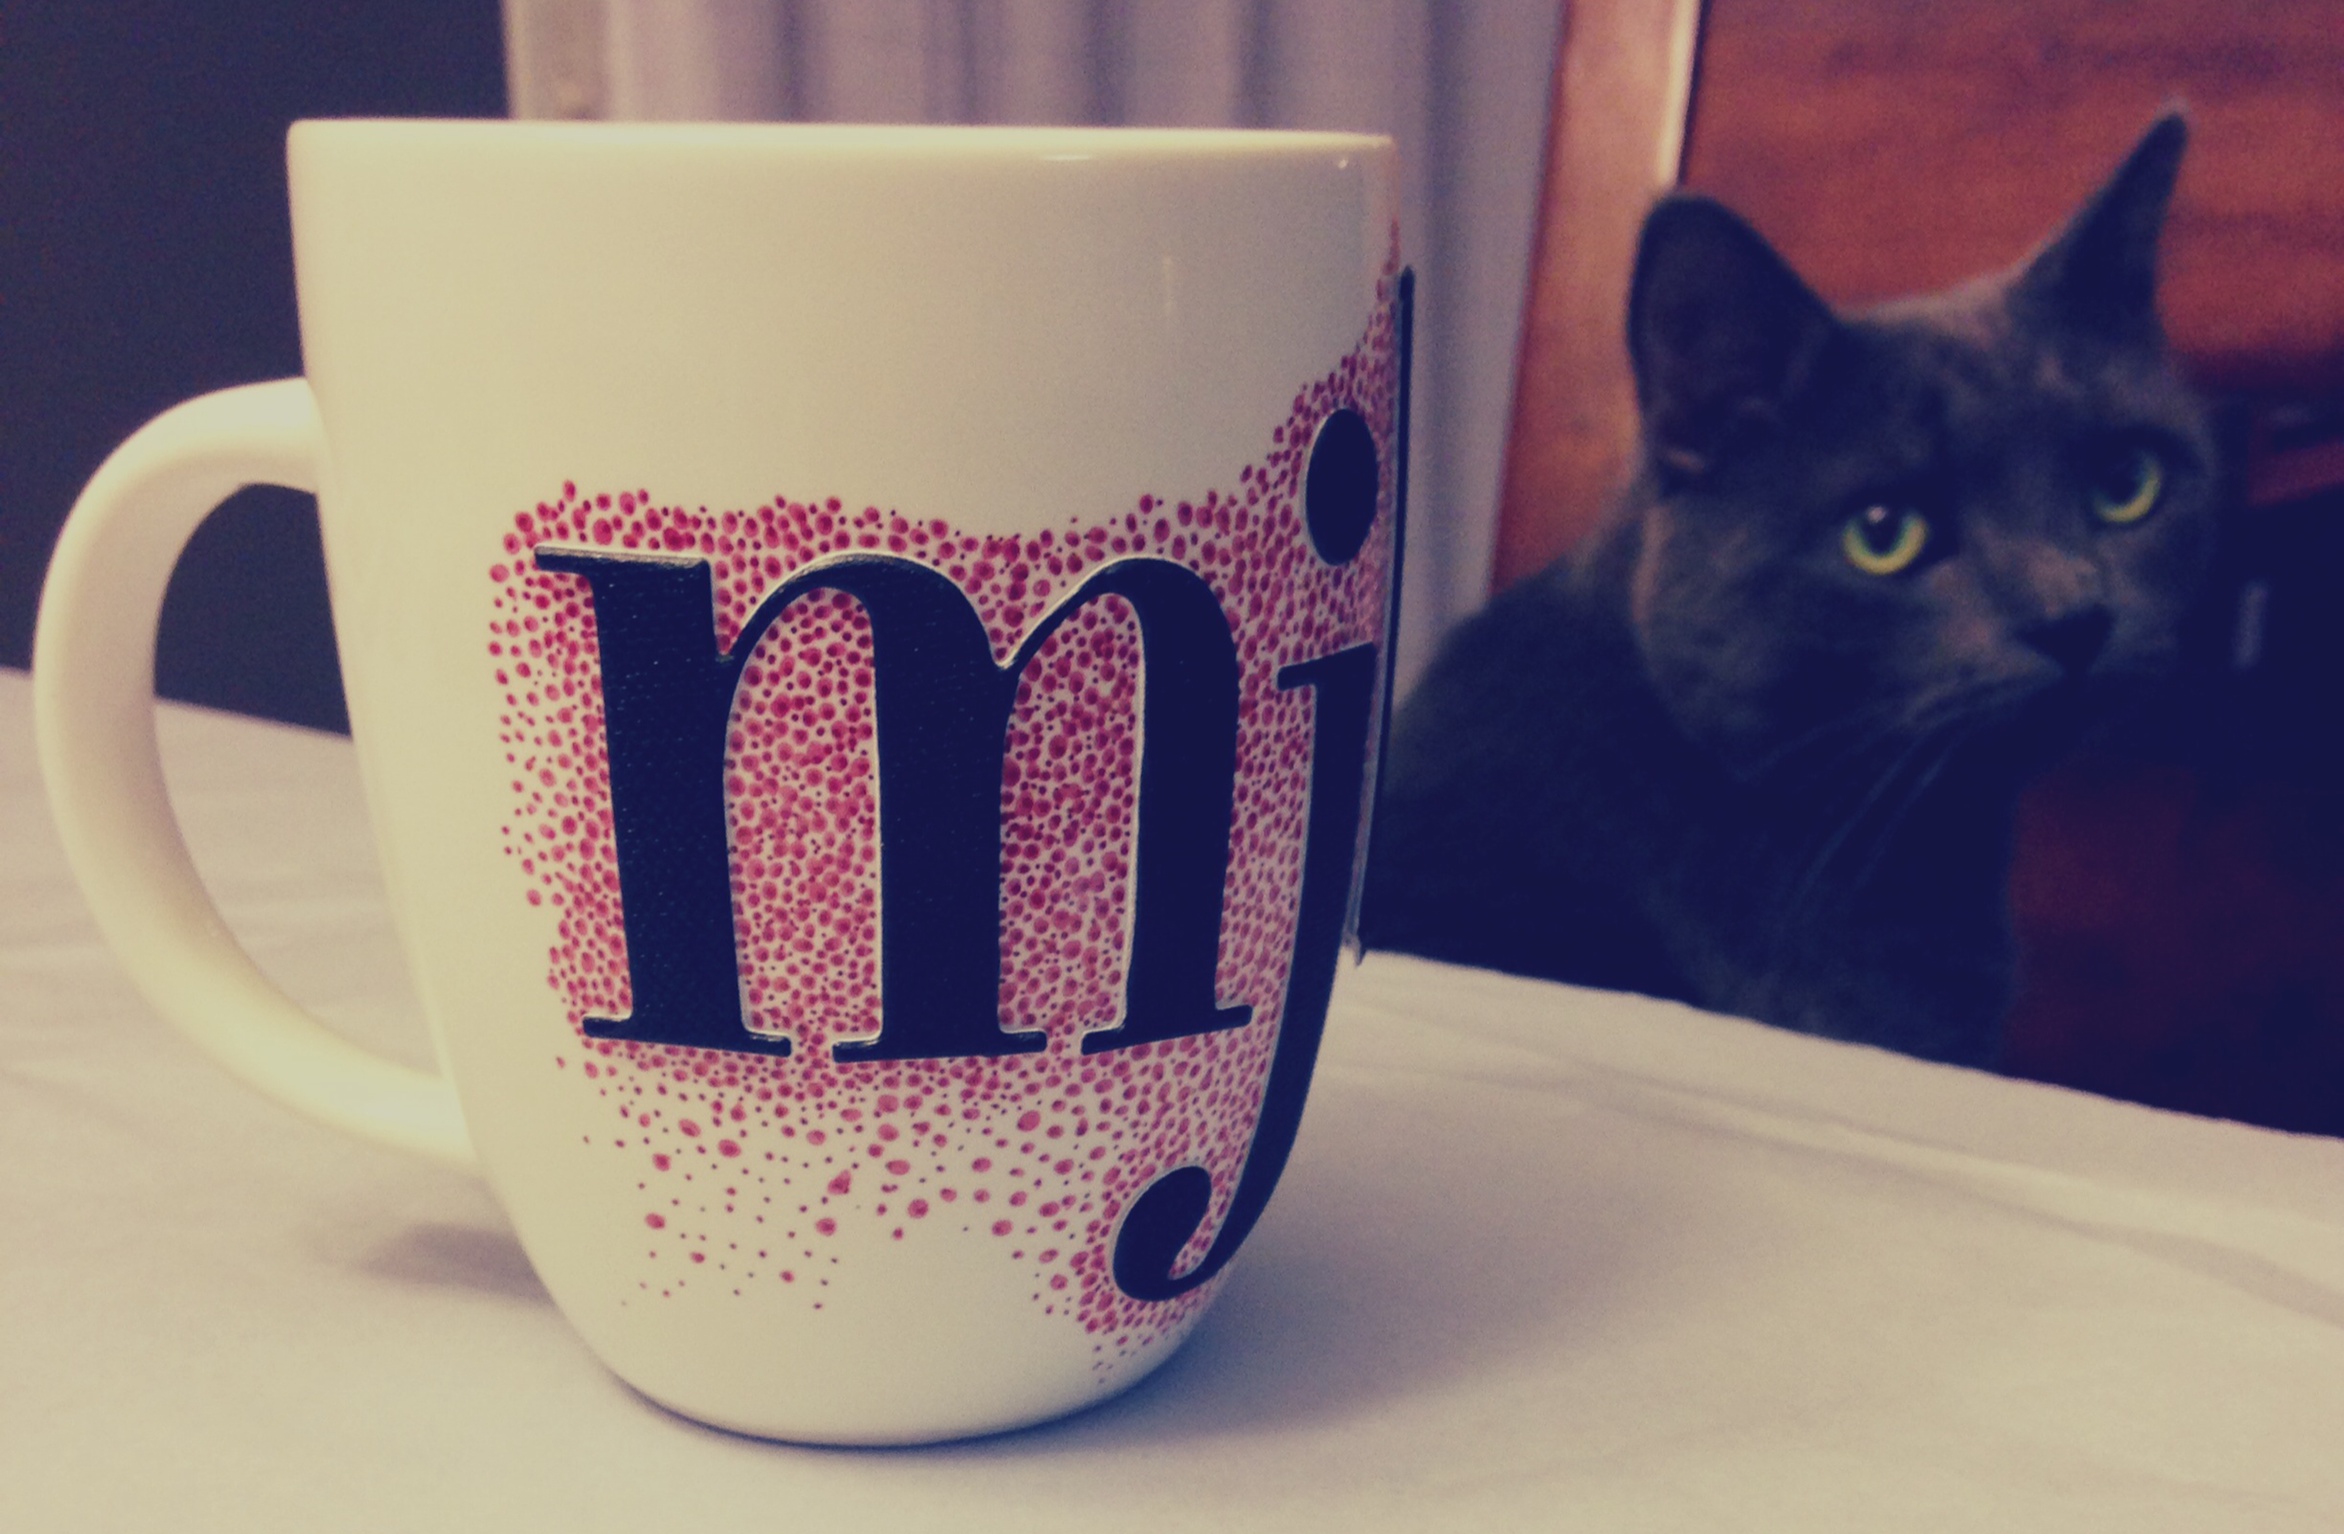
For several weeks now my sister and I have been sending each other pins from Pinterest of DIY Sharpie mugs that we wanted to try out as part of our brother/sister weekend. Pretty much because brother/sister weekend is never complete without a little DIY. #Truth
But while we were sending each other examples of cool mugs that had already been made, what we should have been doing was reading up on how to actually make these mugs … as opposed to reading what we should have done after we had already completed each step.
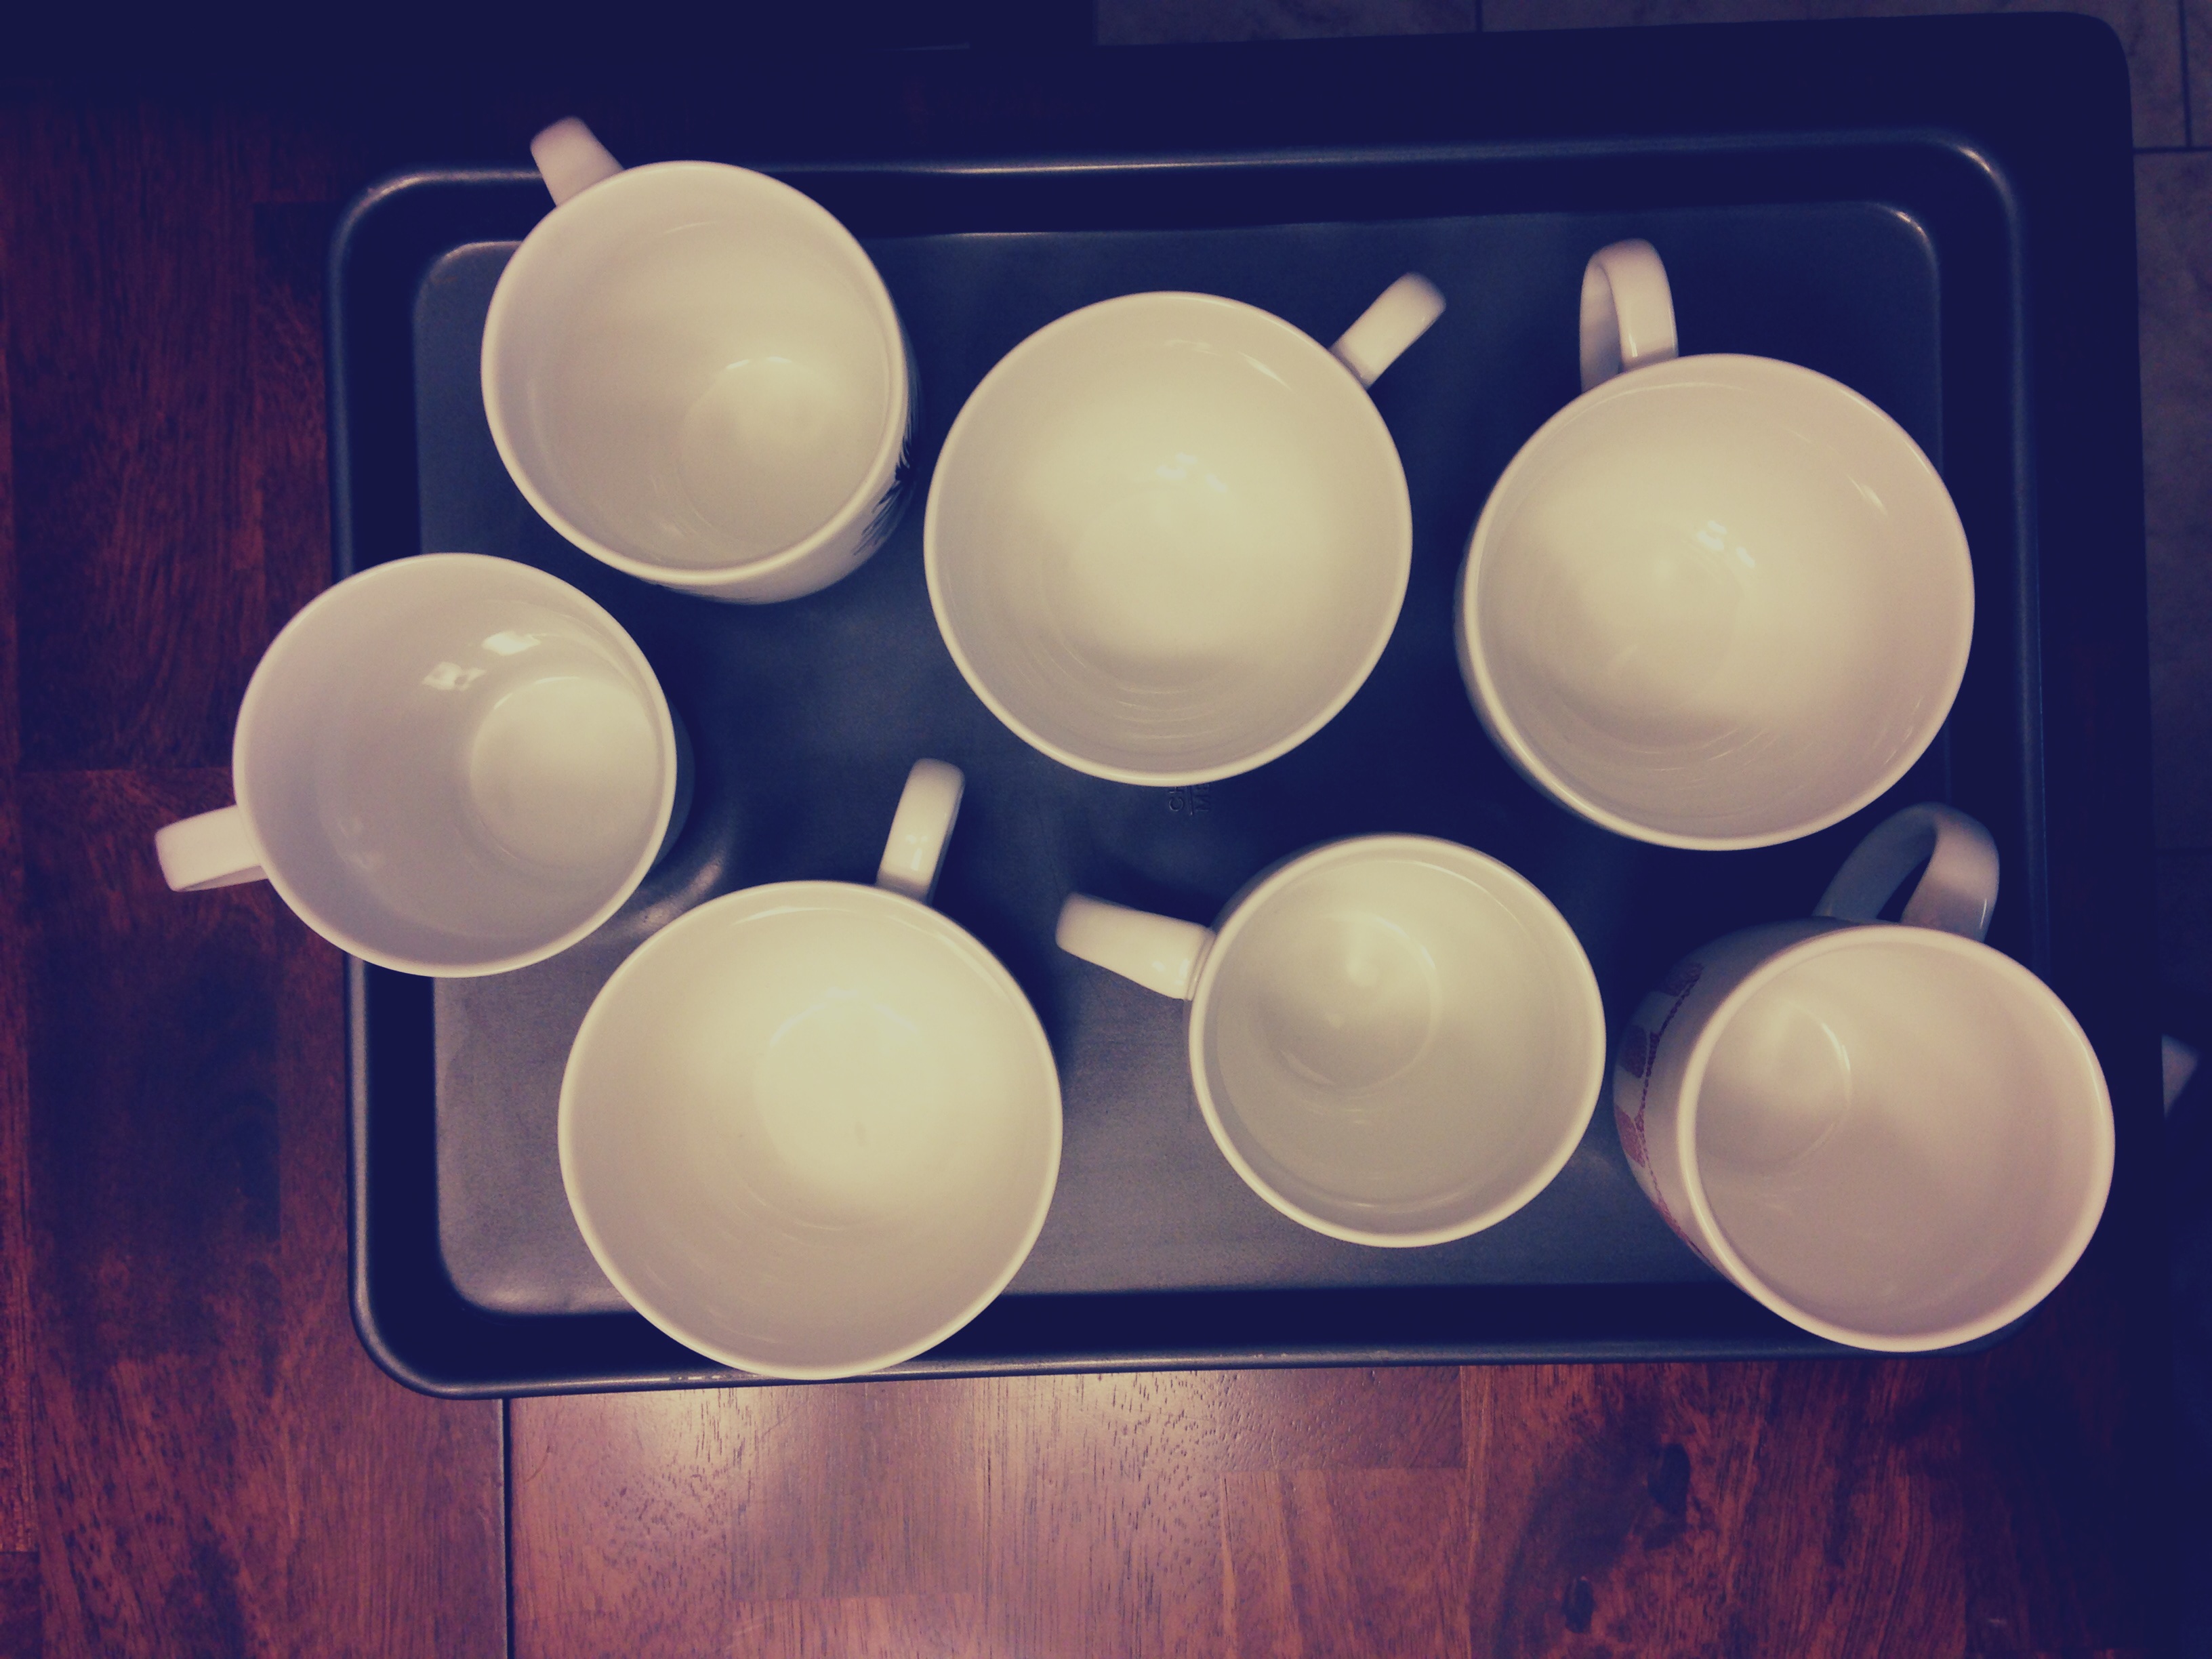
For example, buying cheap dollar-store type mugs work better for having the marker adhere to the cups after baking. This is great advice when you already have 7 cups purchased from 2 different stores after 4 different stops in search of plain white mugs.
Also, found out we should have baked them at 450 for 30 minutes instead of 350 to make the color have a stronger bond. This we figured out after we started washing off one of the designs after the first attempt. (Good news is that after a second round of baking at 450 for 30 minutes, the color held up perfectly when being hand washed.)
Here we have our own Sharpie mug making magic, which after a day of working on, turned out wonderfully:


And in case you want to try your own and don’t trust our “instructions,” here is the blog we started to follow as soon as things weren’t working as planned. I recommend reading this before starting: Tips & Tricks to the DIY Sharpie Mug / DIYopolis

the sharpies you used are the normal ones? or another kind like oil based?
We just used normal!
Hi Nate! For the letters did you use stickers or did you choose your own font, print them out and stick them on?
I used large letter stickers that’d I’d found so that the full “pattern” was adhered to the mug without it being able to shift, but you could technically print something out on your own sticker paper, cut it out, and then adhere that to the side. Definitely would let you make something more customized if you went that route. Good luck!
Brilliant, thank you!
Why do you have to cook it in the oven?
The baking helps the design adhere to the mug so that it doesn’t wash/wear off easily.
So cool